McGill Paper Punches:
Additional Supplies:
-Basic Grey Pattern Paper
-Bazzill Cardstock
-Kraft Cardstock
-Queen and Company Pearls
-Glue Dots Pop Dots
-Glue Dots Ultra Thin Glue Dots
-Twine
Project Instructions:
Project Instructions:
- Trim Kraft Cardstock to 8.5"x5.5" and fold in half to create your card base.
- Trim Pattern Paper to 4"x5.25" and adhere to center of card base.
- Punch 5 Snowman from Dimensional Snowman punch out of Bazzill Cardstock White. Punch a hat in black, Arms in kraft, Heart in pink pattern paper and snowflake in blue Bazzill Cardstock.
- Adhere 4 plain snowman to the card as shown
- Assemble the last snowman with punched out parts and adhere to center of card with Glue Dots Pop Dots.
- Wrap Twine around card and tie in a bow.
- Embellish with Queen and Company pearls and gems.
Here is a bonus Snowman Card...

McGill Paper Punches:
-92097L Snowman Dimensional Punch
-92022L Tree Dimensional Punch
-92022L Tree Dimensional Punch
Additional Supplies:
-Basic Grey Pattern Paper
-Bazzill Cardstock
-Kraft Cardstock
-Queen and Company Pearls and Gems
-Glue Dots Ultra Thin Glue Dots
Project Instructions:
- Trim Kraft Cardstock to 8.5"x5.5" and fold in half to create your card base.
- Trim Pattern Paper to 4"x5.25" and adhere to center of card base.
- Trim 3 different Pattern Papers to 4"x3" tear along one edge of each. Adhere to card as shown.
- Punch Snowman from Dimensional Snowman punch out of Bazzill Cardstock White. Punch a hat in black, Arms in kraft.
- Assemble snowman with punched out parts and adhere to card.
- Punch Tree from Dimensional Tree Punch with Kraft paper and adhere to card as shown.
- Embellish with Queen and Company pearls and gems.
Be sure to leave a comment on every post this week to be entered in a drawing for our Holiday Album Giveaway. See HERE for more info...
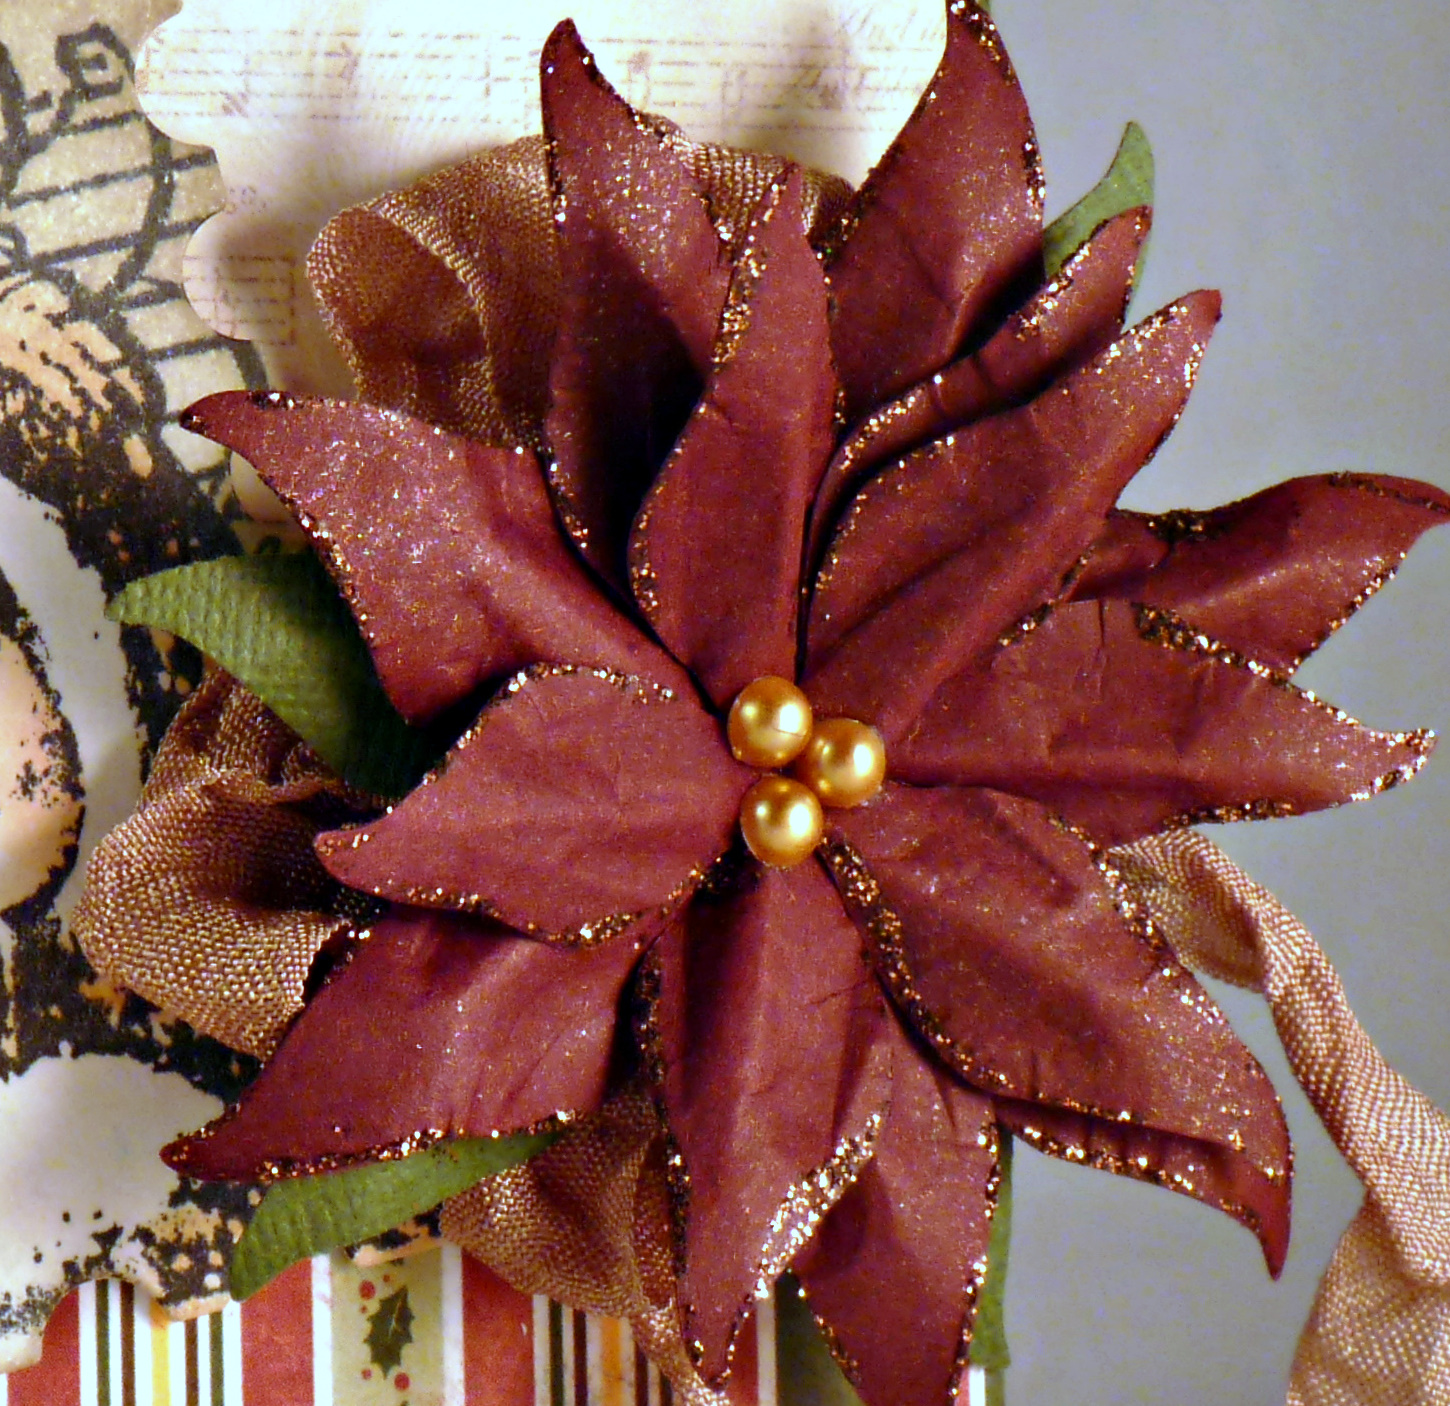
We'll be back with more Paper Blossom Poinsettia's and other Holiday projects using the complete line of McGill Paper Punches.
Sign up to follow us on the blog and or like us on facebook so you don't miss out on the blog posts, updates, prizes etc.