

Designed by Elisa Kammerdiener
McGill Punches:
-64511 Star Lily Punch
-64510 Crystal Punch
-64512 Starbust
-65800 McGill Tool Kit
-65900 McGill Molding Mat
Additional Supplies:
-Core'dinations Glitter, Black Magic and Vintage Cardstock
-Black Paint
-Vintage Lace
-Glue Dots Glue Lines
-Beacon Fabri-Tac
-Hat

Designed by Elisa Kammerdiener
McGill Punches:
-64511 Star Lily Punch
-64510 Crystal Punch
-64512 Starbust
-65800 McGill Tool Kit
-65900 McGill Molding Mat
Additional Supplies:
-Core'dinations BlackMagic ,Vintage cardstock
-7gypsies Pattern Paper
-Chipboard
-Mini bag
-Vintage Lace
-Ribbon

designed by Jessica Morales
McGill Punches:
-64501 Medium Pear Punch
-64504 Garden Petals Punch
-64500 Alpine Snowflake
-64502 Birch Leaf Punch
-65800 McGill Tool Kit
-65900 McGill Molding Mat
Additional Supplies:
-Core'dinations Cardstock White and Black
-Core'dinations Gemstones Cardstock
-KinderStampO Vintage Halloween Stamp Set
-Cricut Mini Monsters Cartridge
-Googly Eyes
designed by Sheri Willshire
McGill Punches:
-64503 Floral Petals Punch
-64500 Alpine Snowflake Punch
-53700 5/16" round punch
-65800 McGill Tool Kit
-65900 McGill Molding Mat
Additional Supplies:
-Theresa Collins Haunted Hallows Pattern Paper
-Theresa Collins Lace and Ribbons
-Paper Trey Ink Die for #31
-Autumn Leaves Swirl Leaves

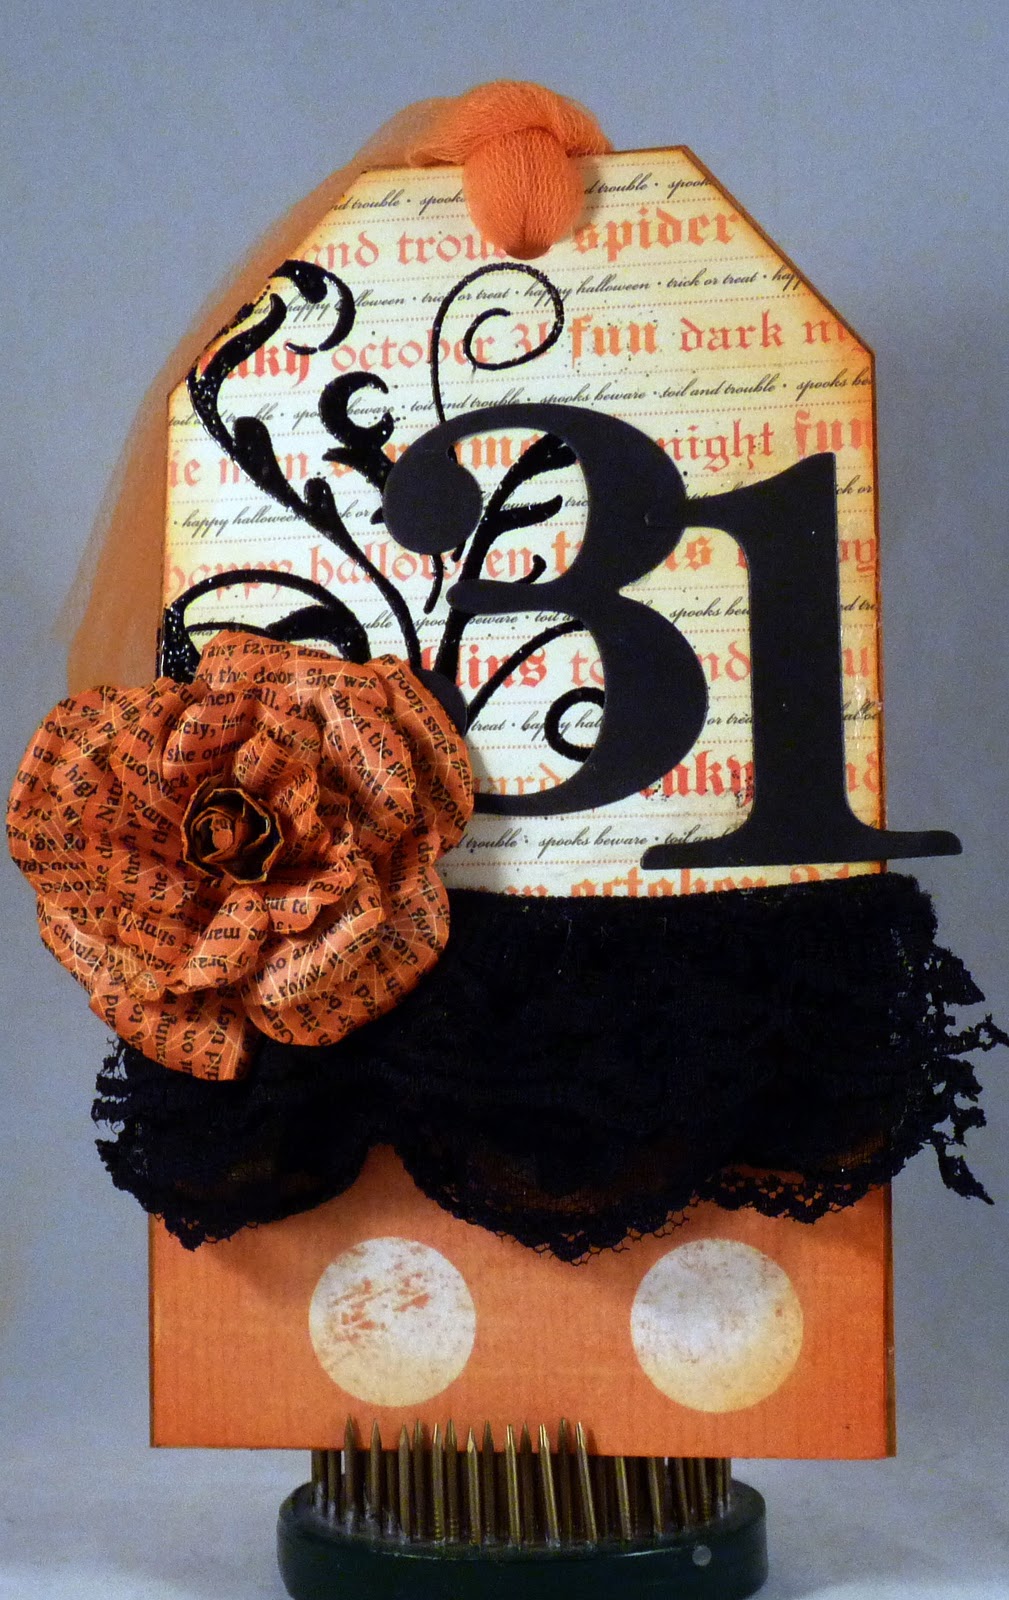
designed by Sheri Willshire
McGill Punches:
-64503 Floral Petals Punch
-64500 Alpine Snowflake Punch
-52500 1/4" round punch
-98100 3" Scalloped mult-tags
-65800 McGill Tool Kit
-65900 McGill Molding Mat
Additional Supplies:
-Bazzill Cardstock
-Theresa Collins Pattern paper
-Stamping Scrapping Designs Label Accents
-Seam Binding
-Spellbinders Circle Dies
Thanks so much for looking and we will be back with more projects featuring McGill Punches. Don't forget we enjoy seeing your projects created with McGill Punches so please feel free to link us to them by leaving a comment on our blog with a direct link to your project.
Have a great day and until next time... Happy Crafting.
Have a great day and until next time... Happy Crafting.


